


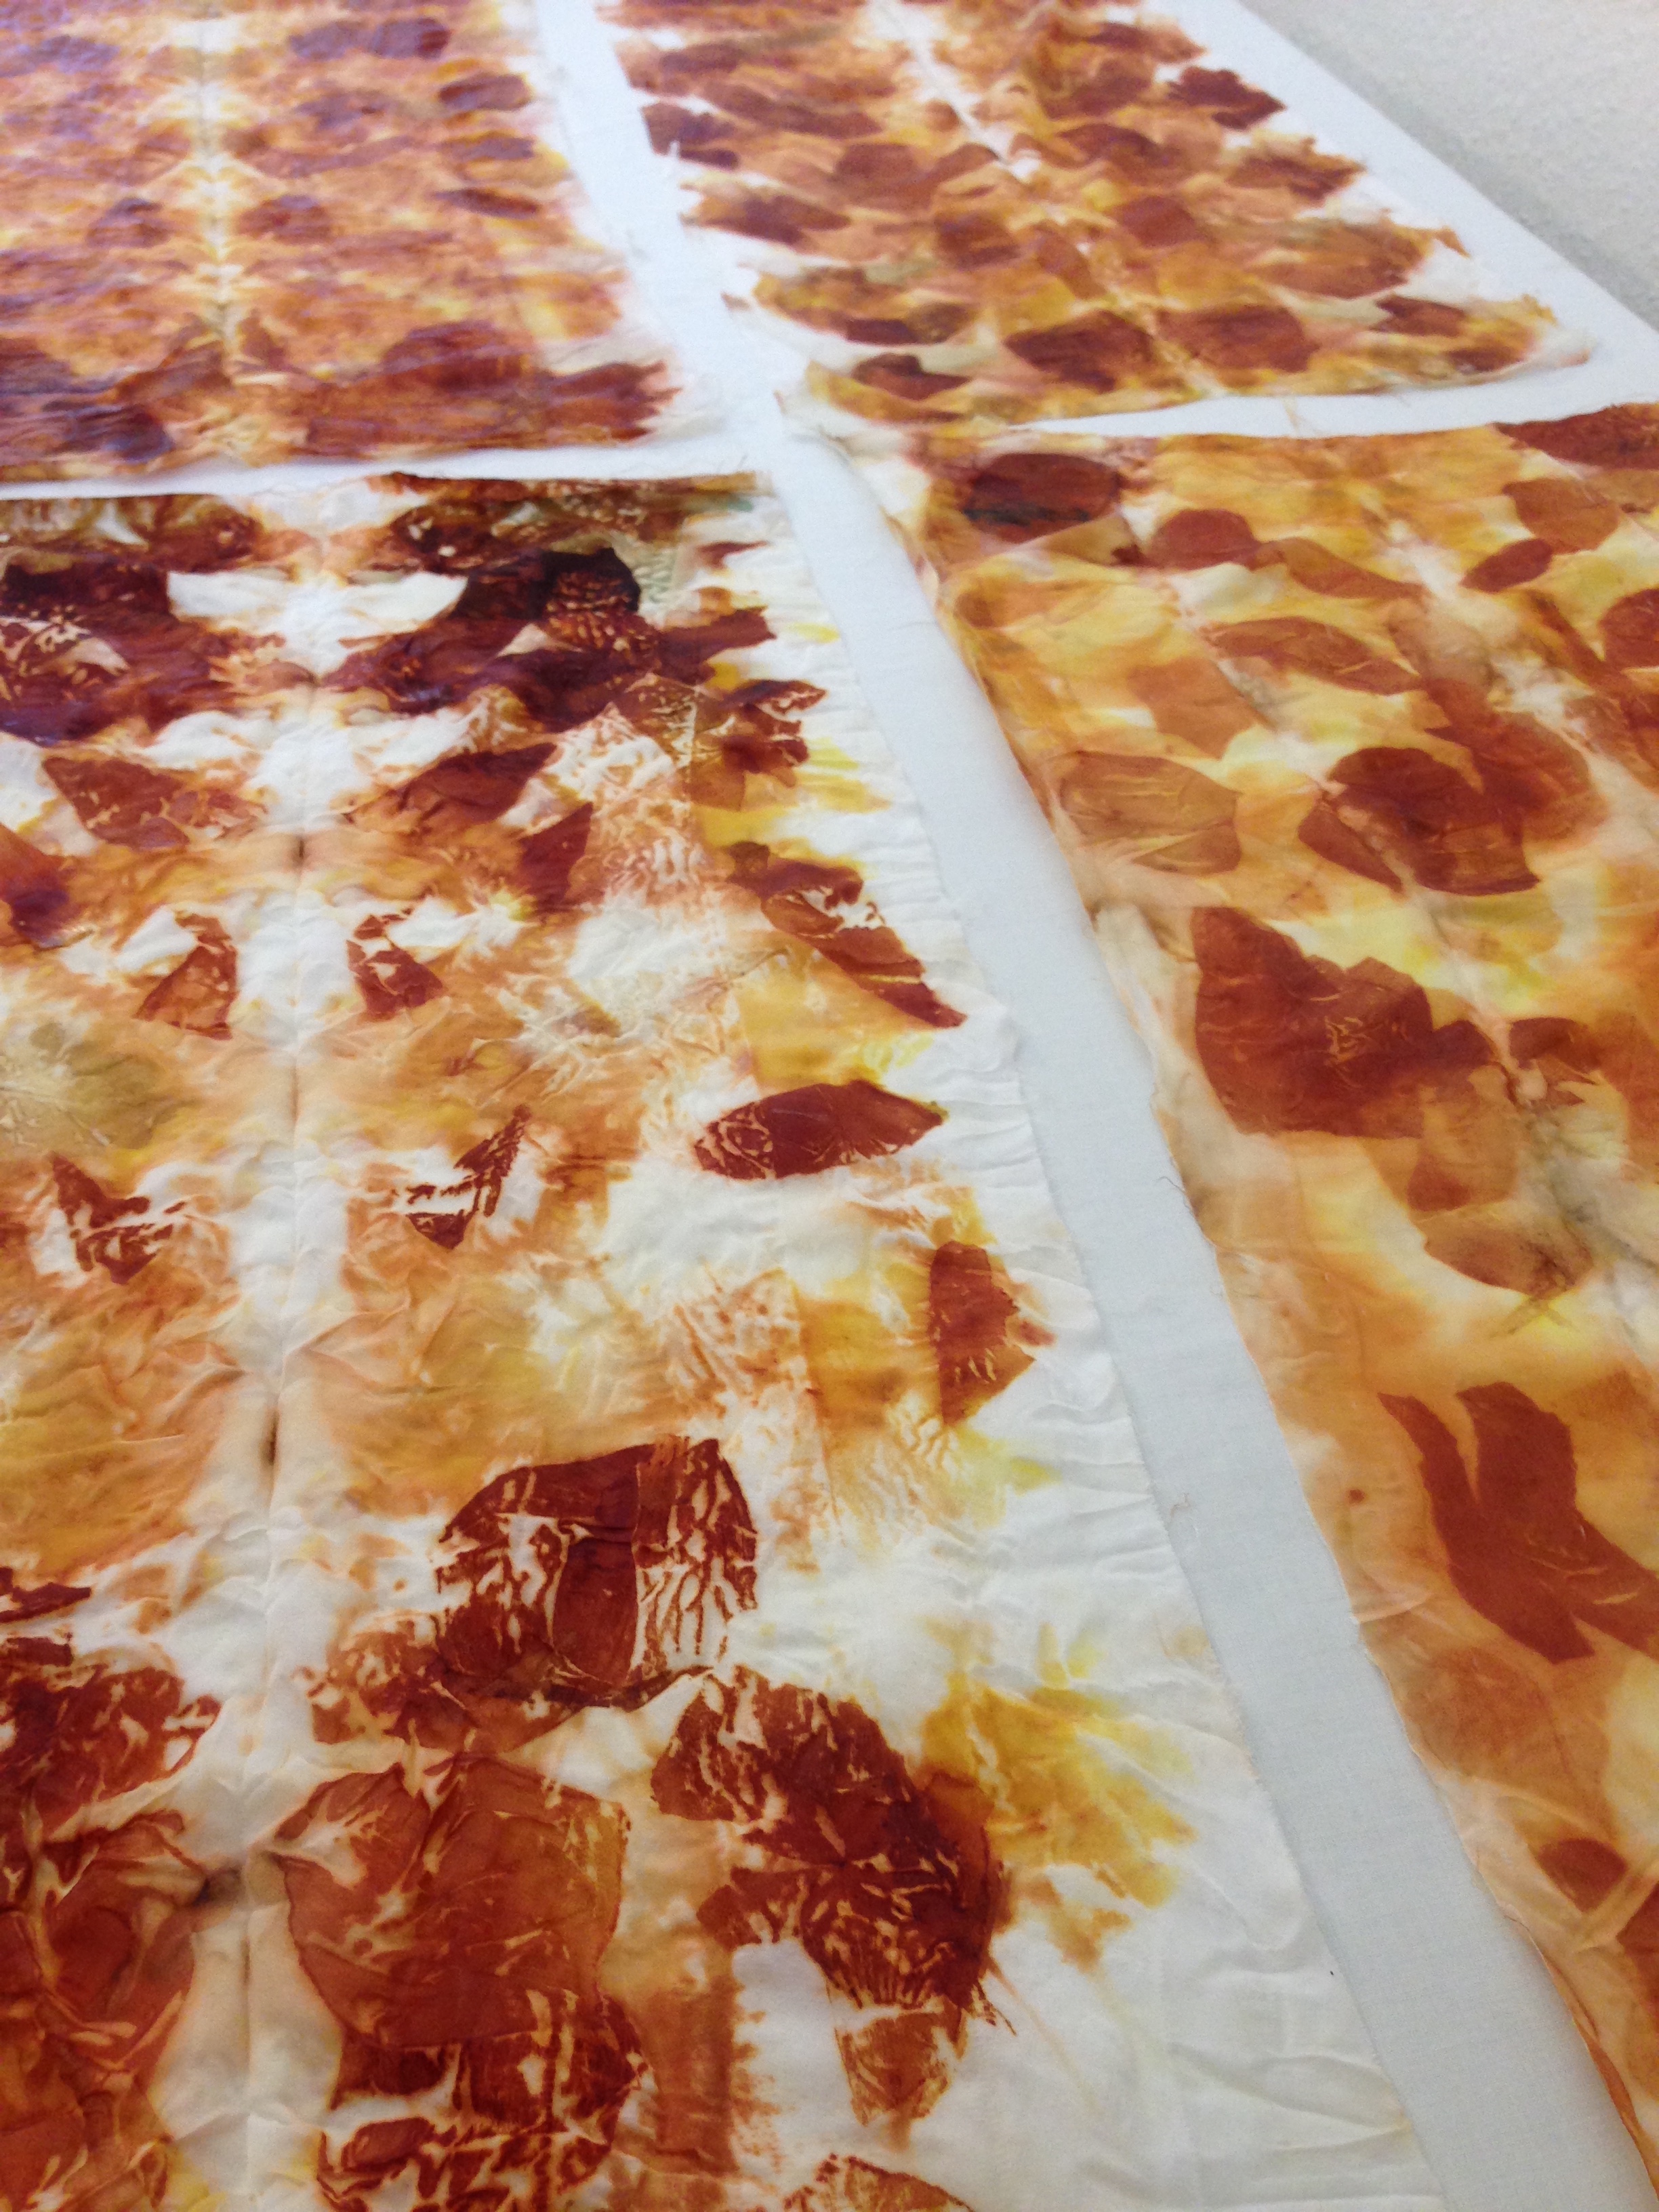
My first eco-print has been a long time in the making but has turned out beautifully.
Who’d have though you could make such gorgeous colours with onion skins?!
Here’s how it happened:
I sourced some ‘peace’ silk online. Instead of killing the silk worm before it hatches, peace silk allows the worm to hatch naturally whilst still harvesting its thread. I chose silk as it’s one of the fabrics that most easily takes up botanical colour.
I thrifted myself saucepans that I could use especially for eco-printing and dyeing – this batch was done in an aluminium pan that I got from Freecycle.
I got hold of an old copper pipe from someone doing a bathroom refit (again from Freecycle). This turned out to be a bigger job than I had initially thought – it was unwieldy (I carried it home balanced on my son’s buggy, skillfully avoiding scratching parked cars!); it was covered in paint (I bought some natural paint stripper and scraped it off) and it was too long (I sourced a saw and got my husband, Rob, to saw it into pieces).
I cut the silk into four pieces and chose to print it four different ways – one with no pre-treatment, one with milk, one with vinegar and the last with sea water. I left the fabric soaking in the pre-treatments for 4 days before drying outside.
I saved all the brown onion skins from our cooking for a few days.
All this took weeks.
This is slow art and I was chomping at the bit to get started!
Finally, the day came! I laid out the pieces of silk, shiny side up, and broke up the onion skins, placing them on the right-half of the fabric. I folded the fabric over on itself and then topped it with a piece of poly-cotton sheet of the same dimensions (this was to help stop the colour ‘bleeding’ through the layers of silk).
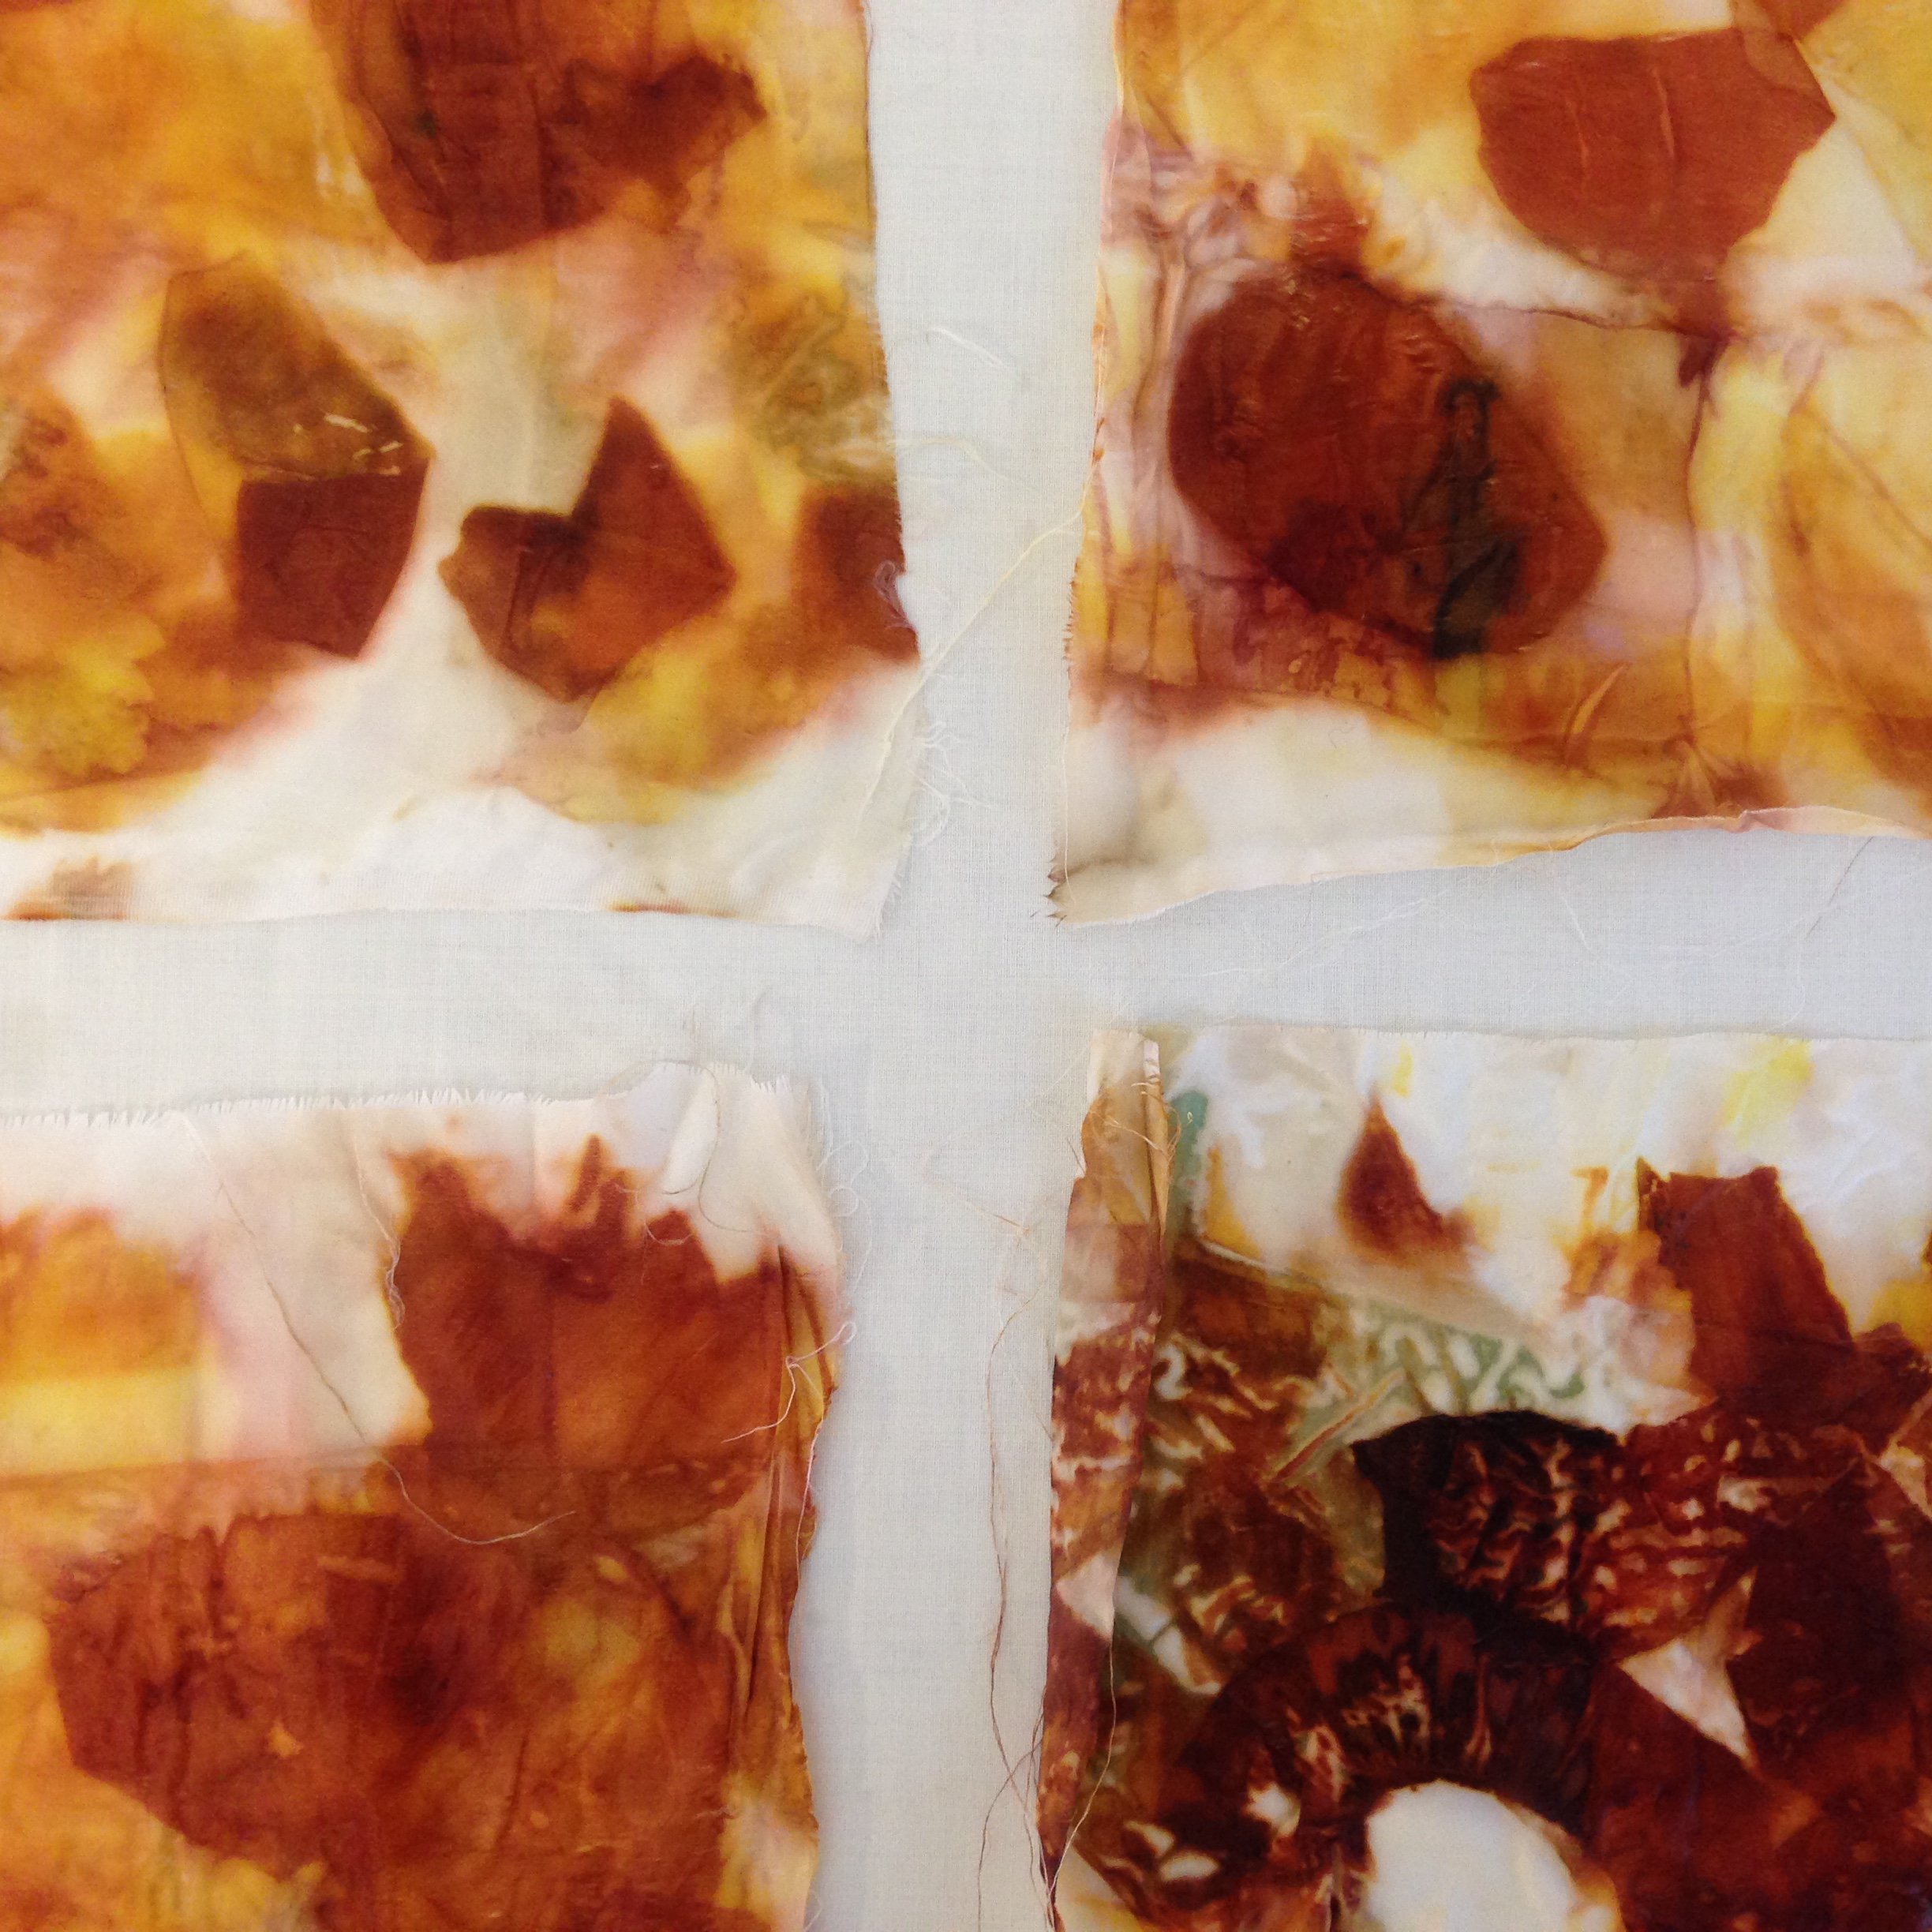
Then I wound each piece of silk tightly onto a piece of copper pipe – rolling it up, and secured it well with tightly bound string and a couple of elastic bands. Here’s a picture:
These then went into a steaming basket, above some bubbling water. I meant to steam it for an hour and a half, but the water ran dry a couple of times (as I don’t have a lid that fits the pot properly!) so I ended up leaving it a little over two hours.
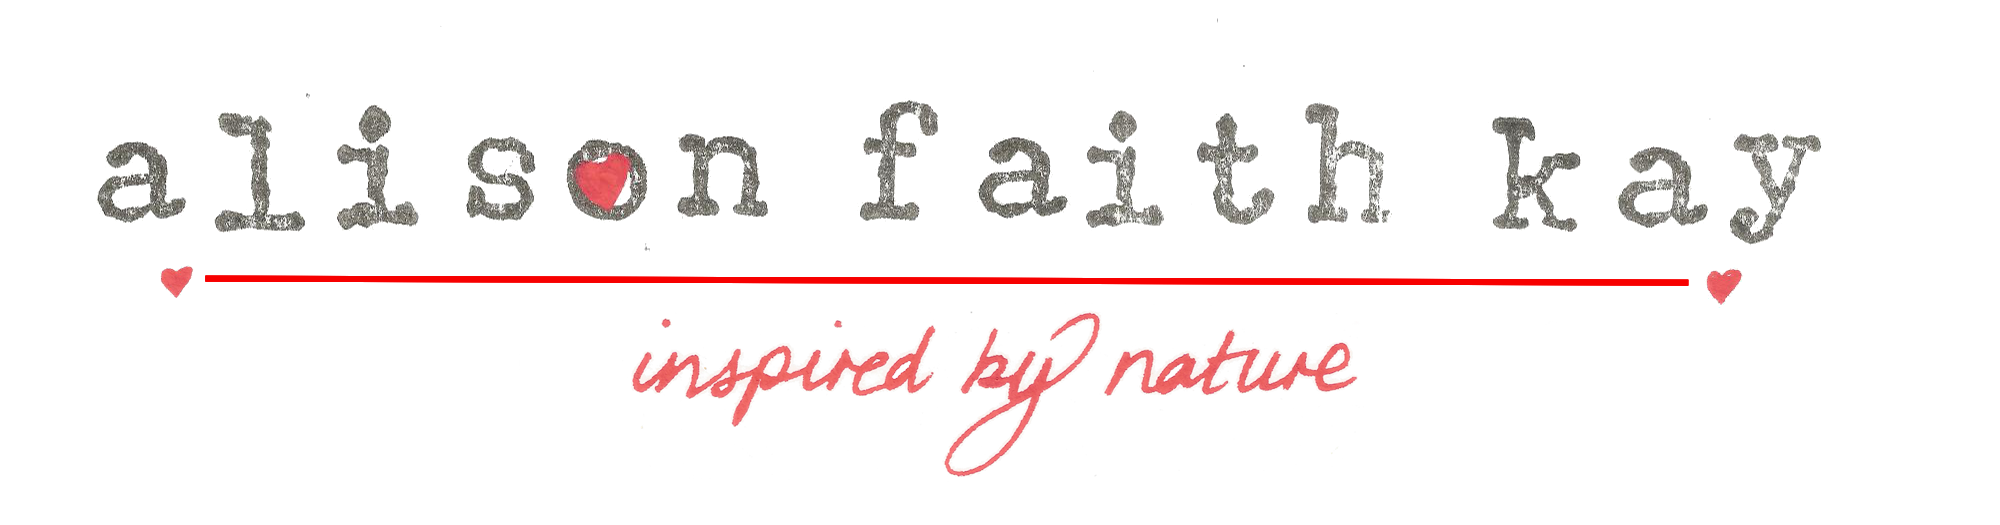
I let the bundles cool down naturally and then sit on the side overnight. In the morning I gently unrolled them and picked off the onion skins:
I let them dry naturally, and then, the next evening, I ironed them gently, using a cotton sheet to protect the print from the iron.
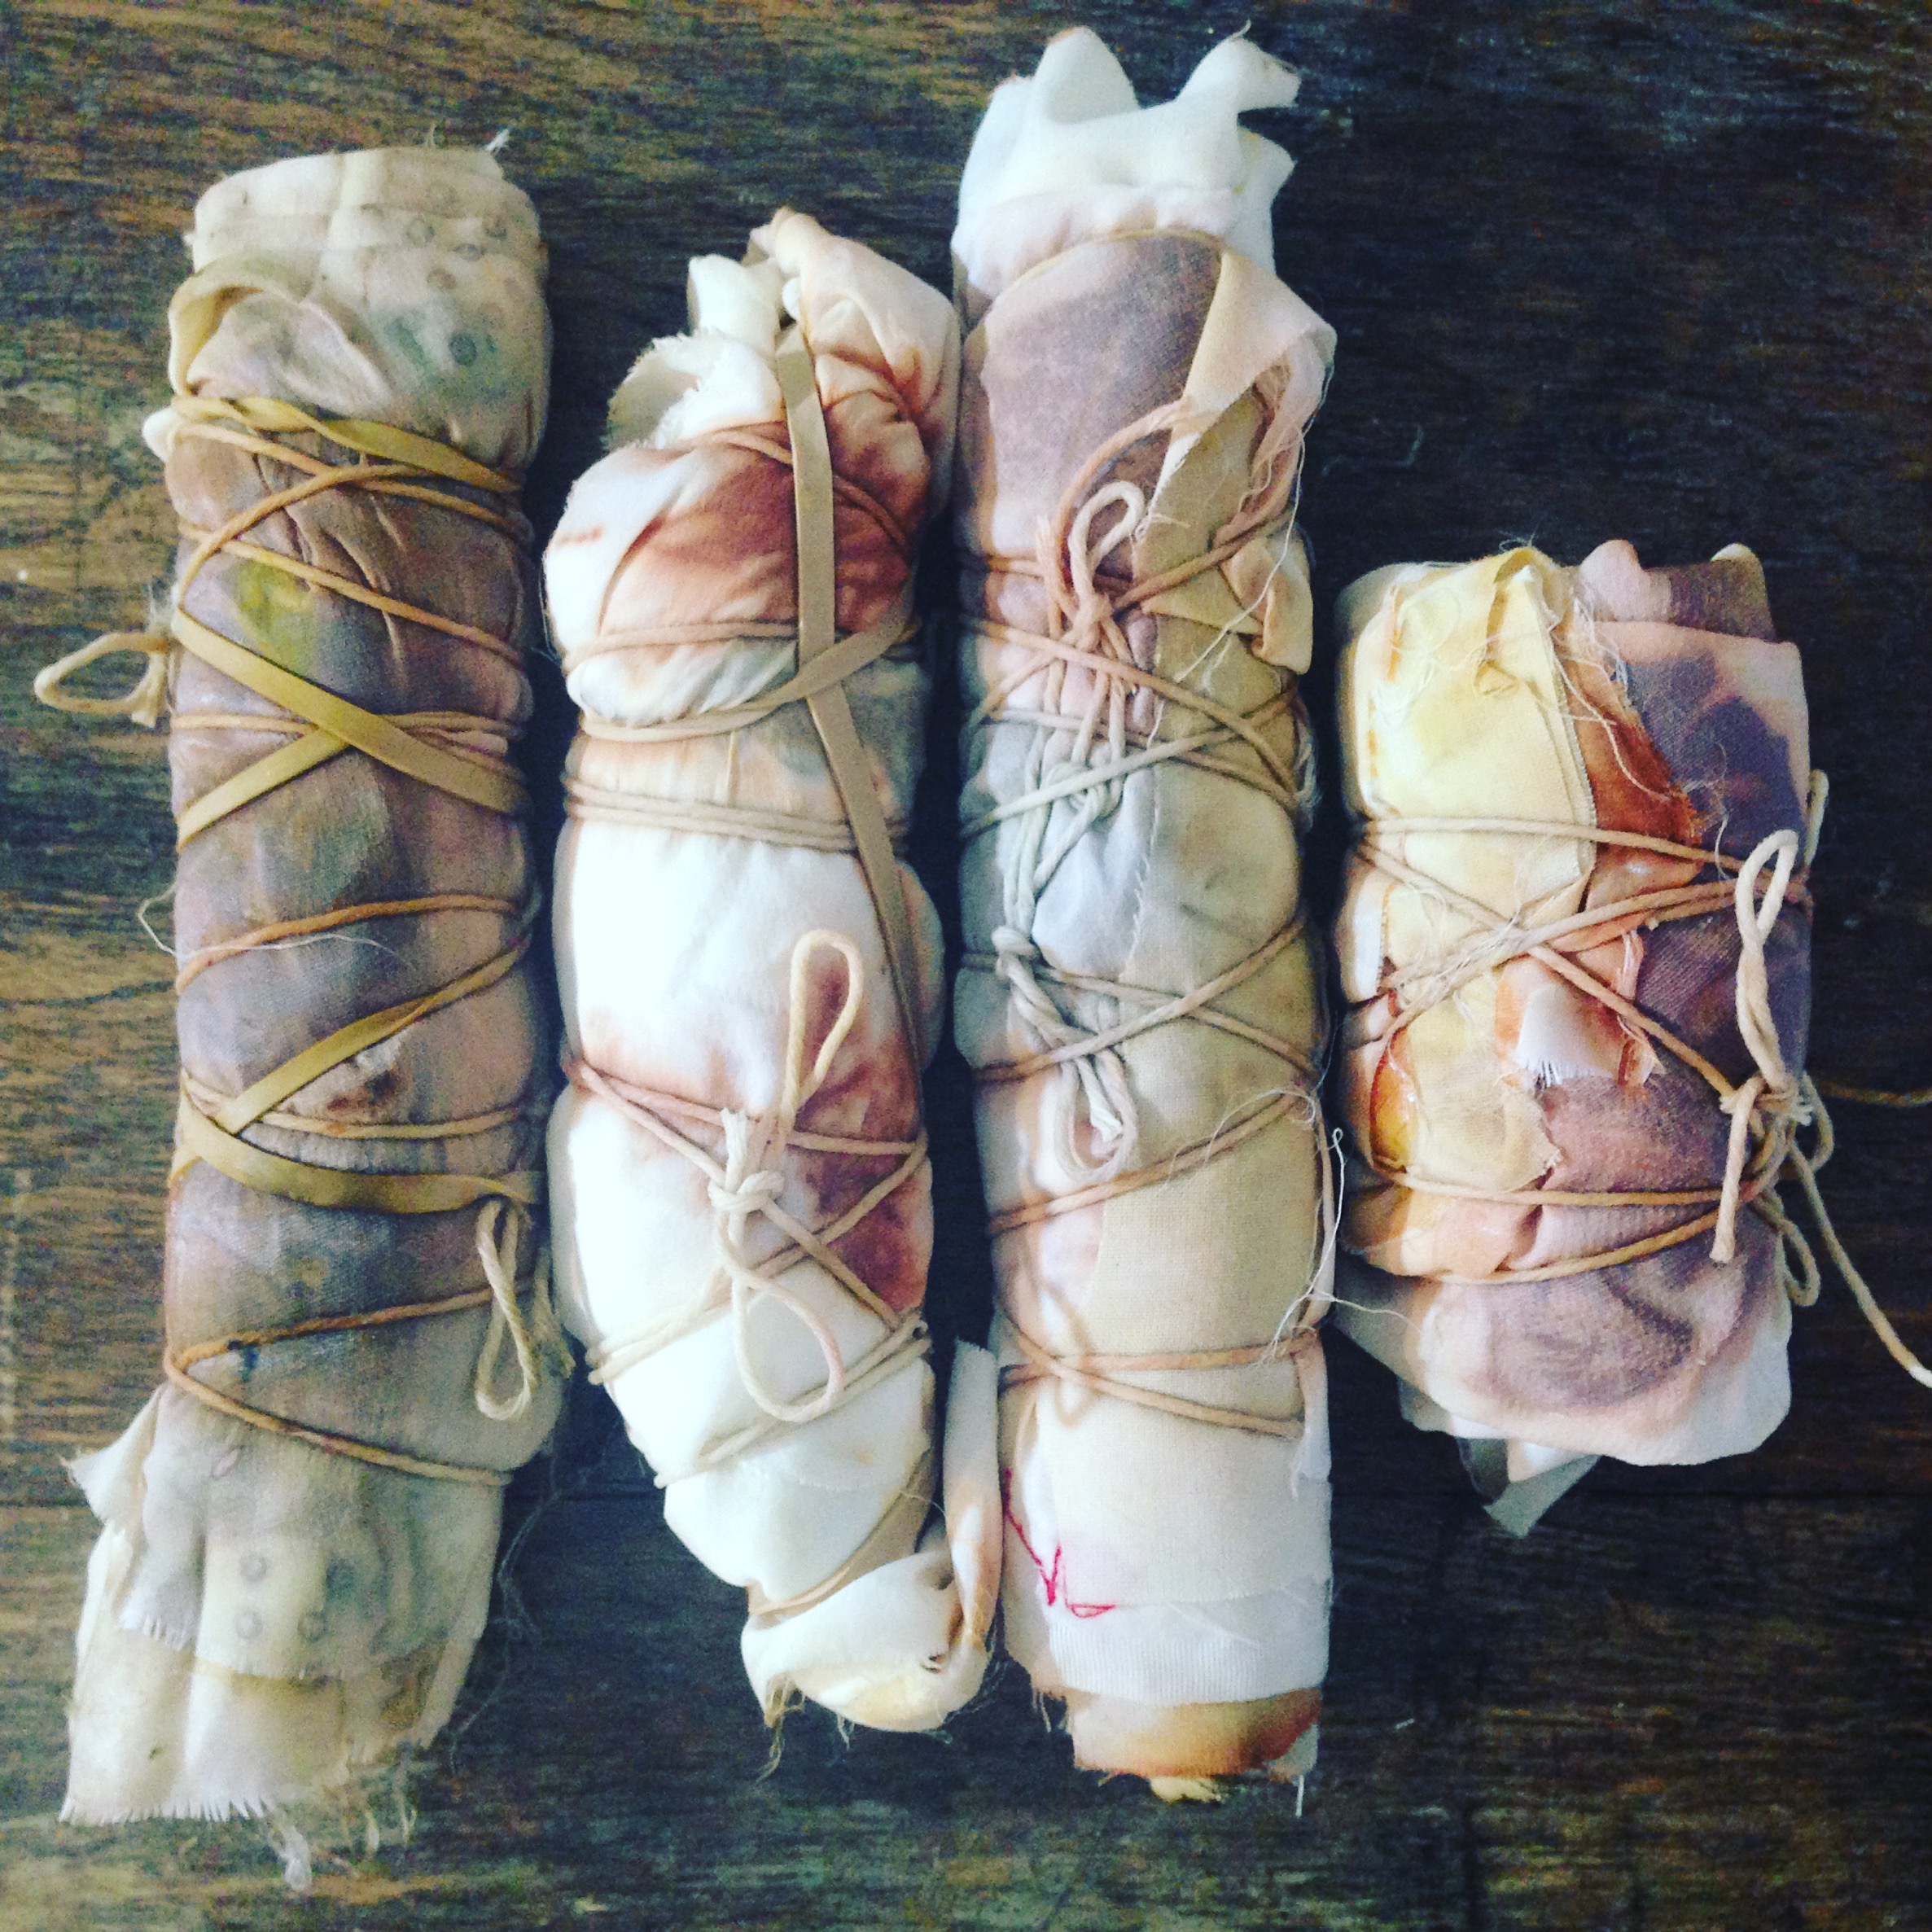
I am so happy with how my first foray into this type of art went. The colours are magnificent.
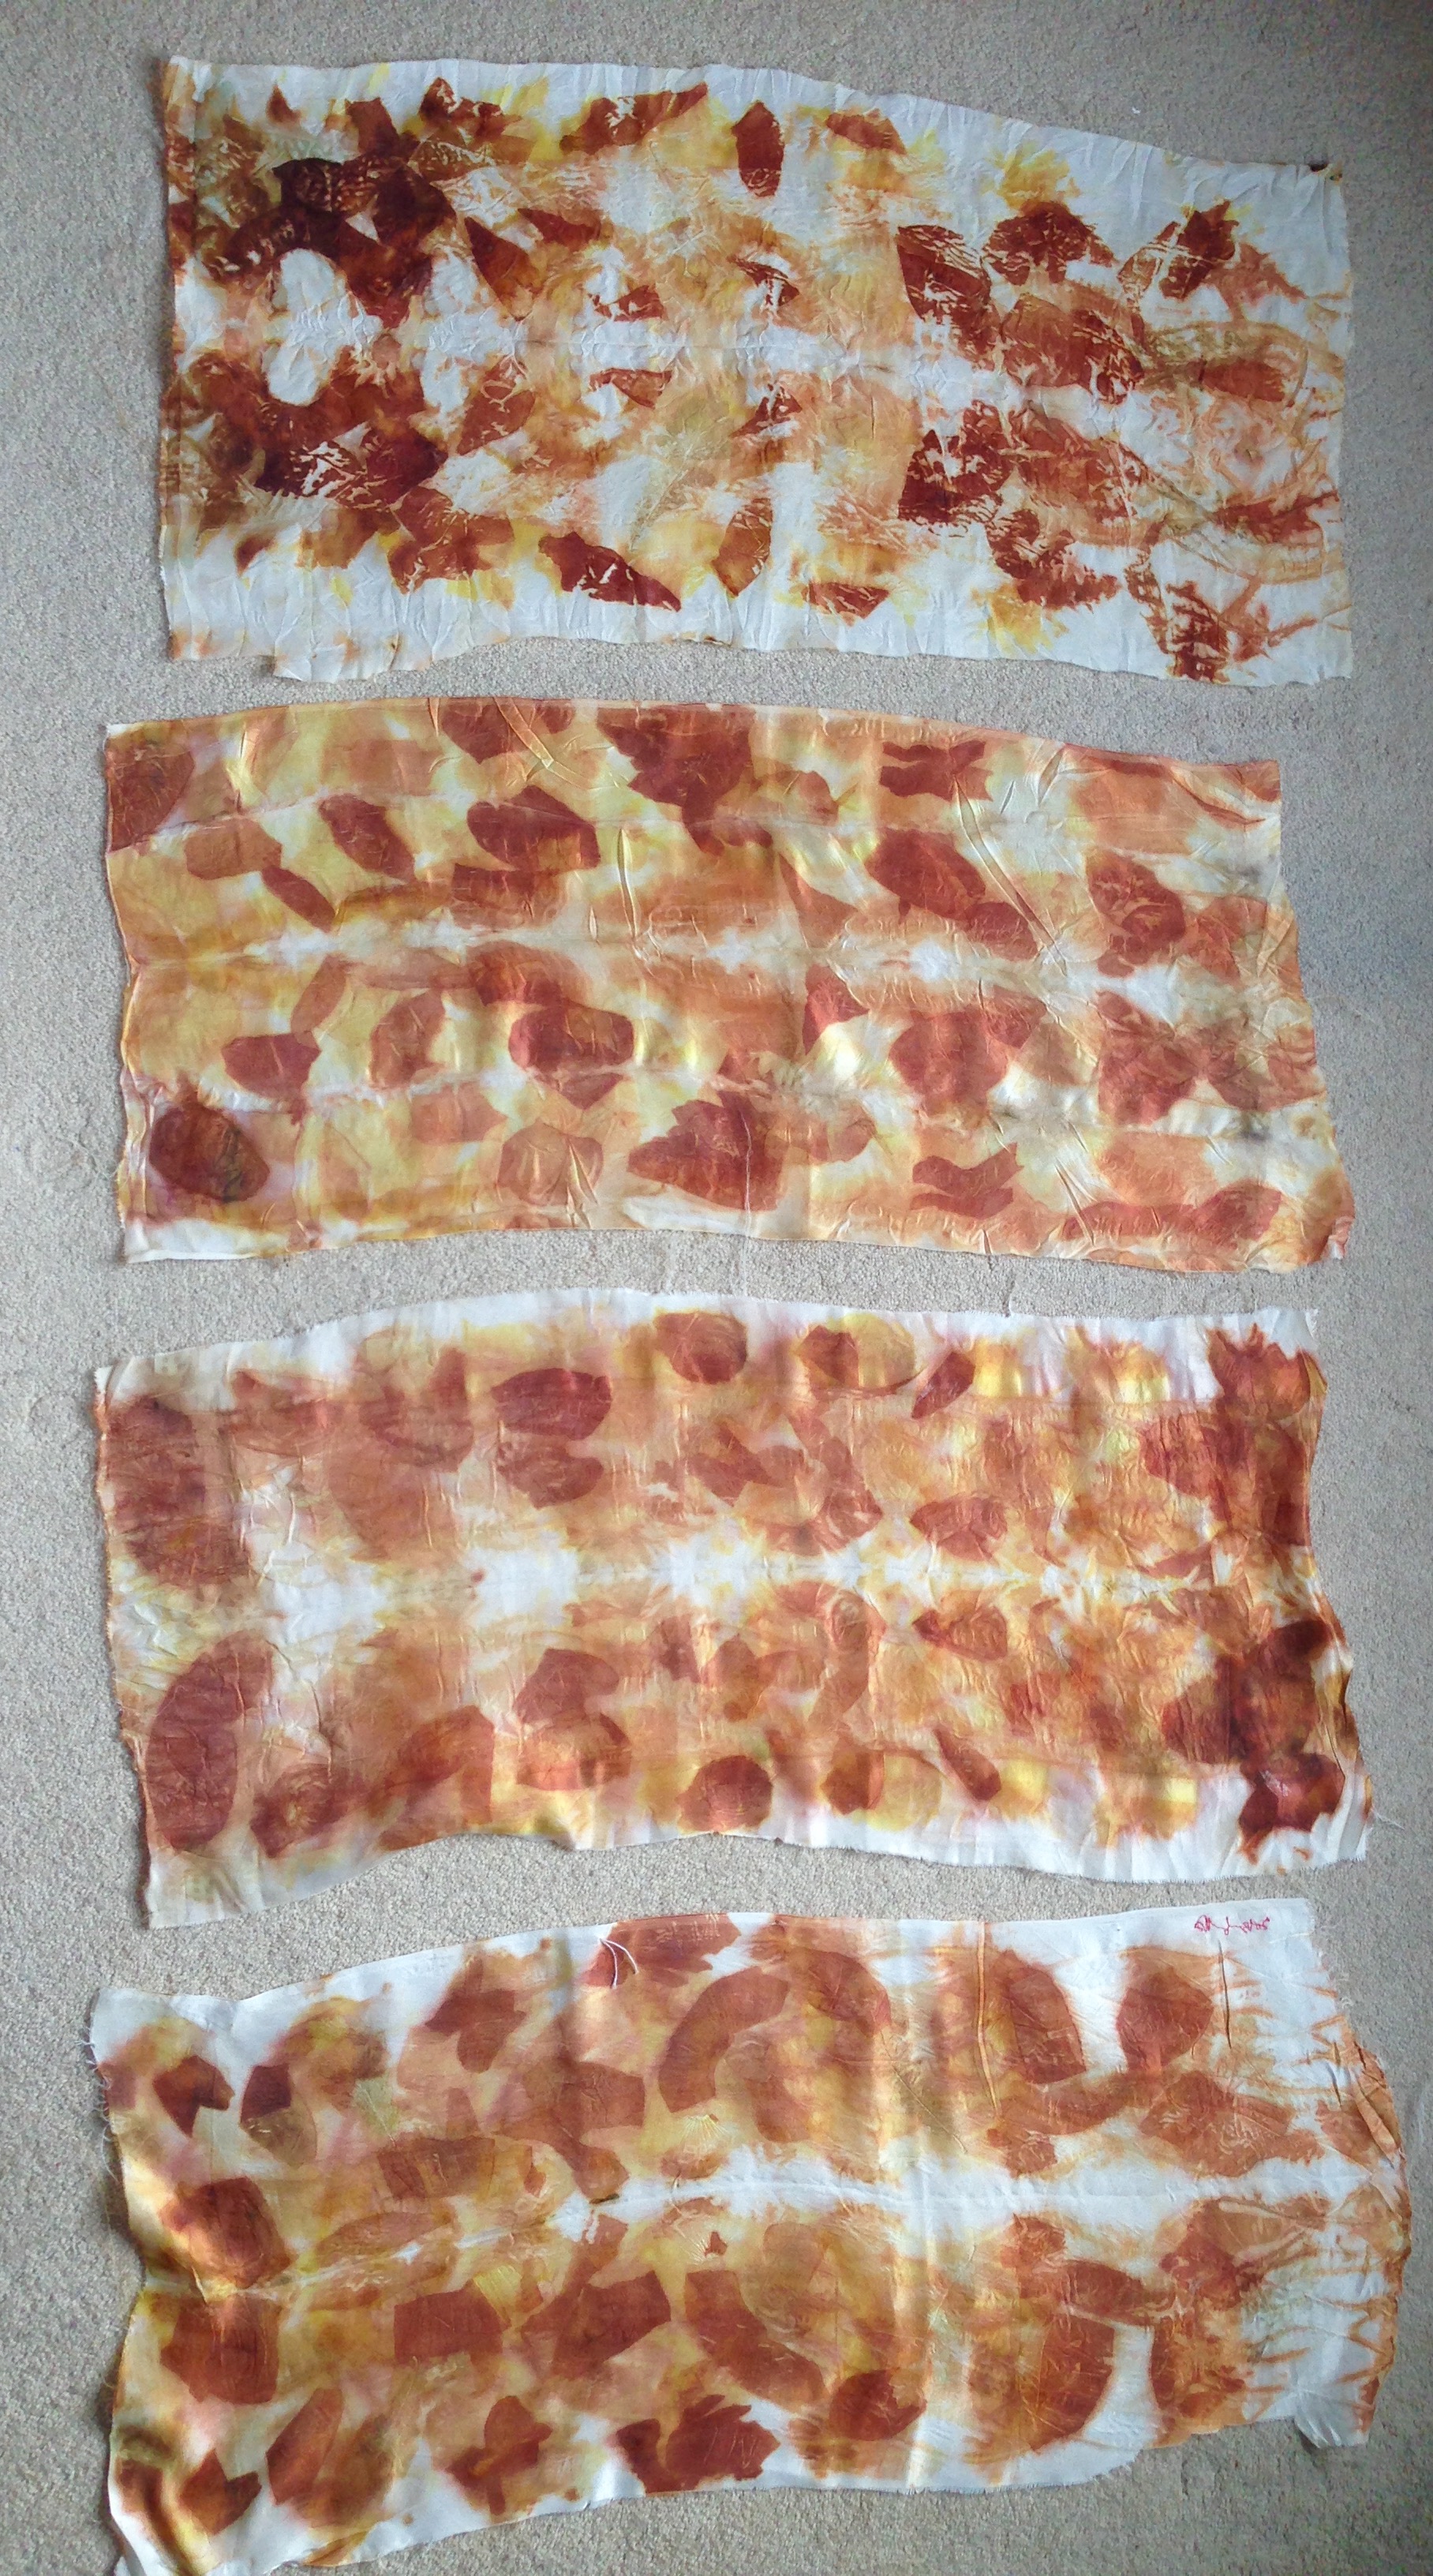
The 4 pre-treatments had subtley different effects:
The milk turned the silk very crinkled and stiff, and the resulting print captures those lines.
The plain was folded twice (as opposed to once) as my fourth piece of copper pipe was shorter, and the colour has bled more – resulting in more background yellow.
The sea water and vinegar are similar, perhaps with the sea water being more intense (or maybe that’s just what I want to see – I went to the shore in Newlyn and collected the Cornish water myself!).
I’m not sure where I’m heading with these pieces yet. I don’t feel like a silk scarf maker. I’m feeling pulled, turn-by-turn, to stitch on top of them, to add some contrasting mineral pigment colours, to make them into some form of sculpture with a light source and to allow them to be placed in an outdoor setting. I’m new to this being-able-to-do-whatever-I-want (too many years following rules) – and I need to sit with my ideas for a while. So, for now, I’ve hung the pieces up over the stairwell in our new house. I see them every time I go downstairs and they flutter very satisfactorily in the breeze.
What I do know is that I’ll be doing more!
Any questions, comments or thoughts, please do post below.
What a lovely post full of inspiration and beauty. I will share it. I made my first batch of dye (black walnut) last month and finally stamped the fabric yesterday.
Hi Desiree, Thanks for your words and for sharing! I like your site and your IG feed. I too remember mashing up rose leaves to make ‘perfume’! I’d love to see some pictures of the stamping you’ve done with walnut. Are you going to share? x
Many thanks for the info. if I used a small piece of copper pipe for one session, can I then use it again on the next session or do I have to discard the first piece and get another one? Thanks, Wendy